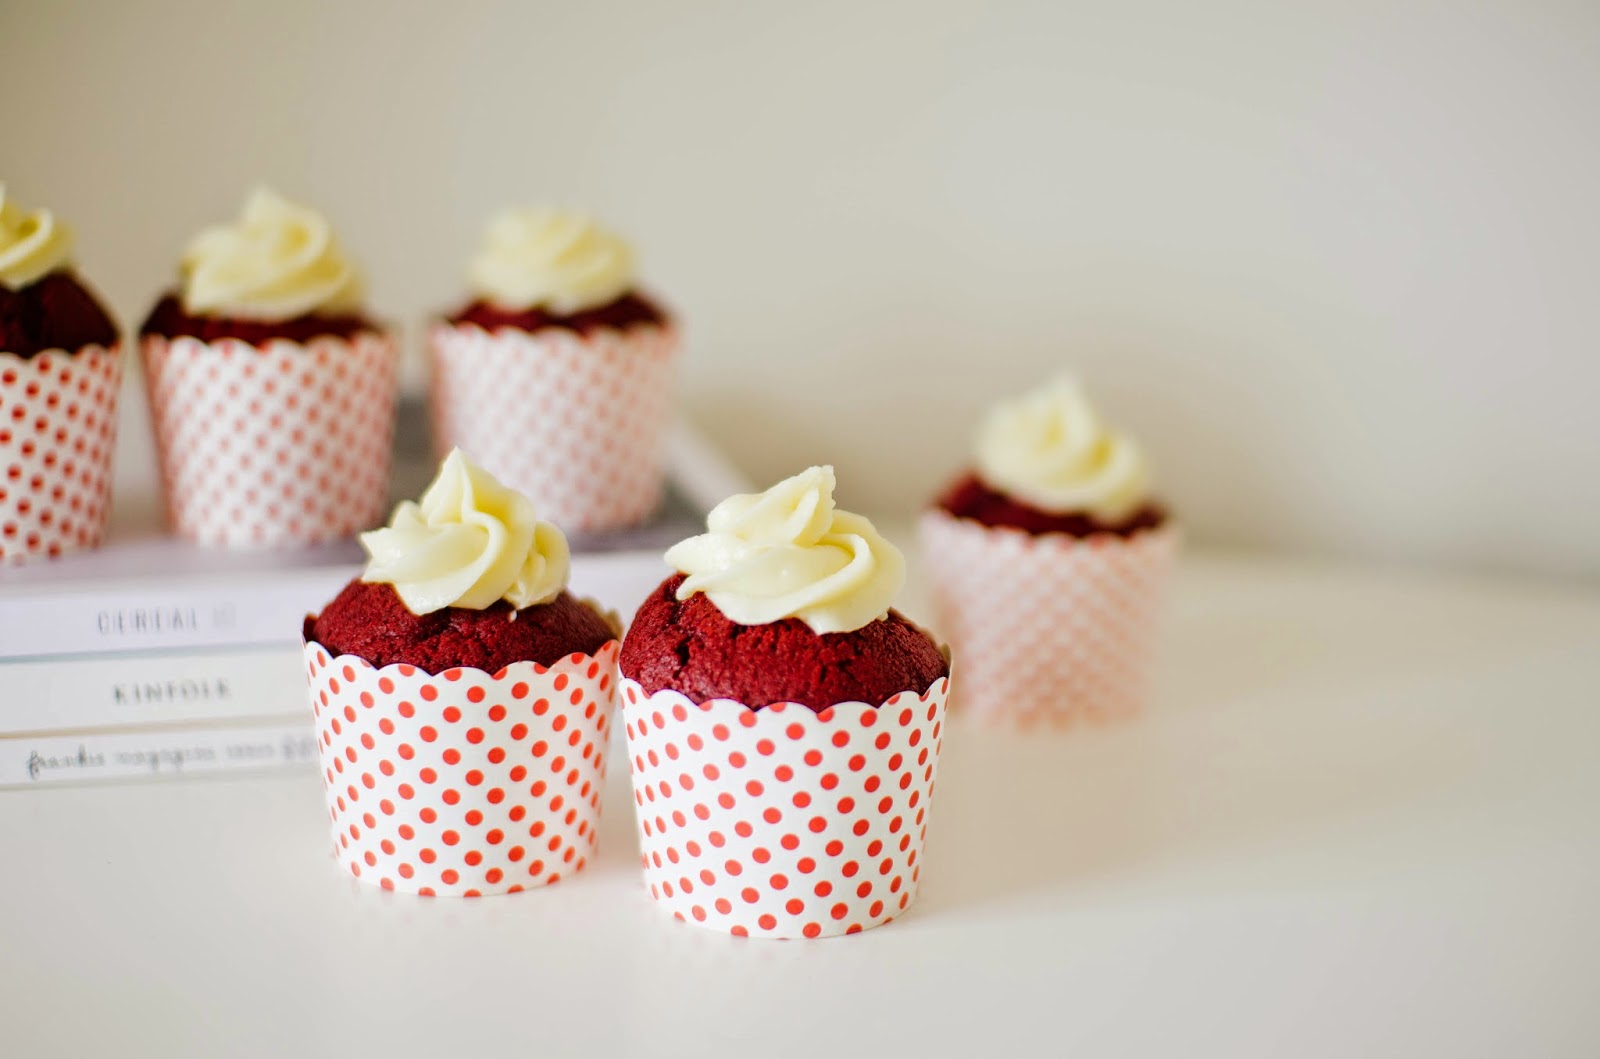
Naturally I came across this particular
recipe again from Pinterest whilst scrolling through my feed as per my morning routine.
I find that Pinterest has become my recipe bible, in the sense I come across 99
percent of my baking/cooking inspirations from this particular app. If you're
not already on Pinterest then you might as well be living under a rock.
Previously I was an avid and religious follower of Martha Stewart recipes however
I found with time that they just became either too bland or too boring and so it
was time to delve into the unknown abyss of the "blogosphere" and
give other versions of the renown "Banana Bread" with a chocolaty
twist a go. The overall response from the several taste testers (i.e. my family) in regards to the taste was overwhelmingly
positive as a result making this recipe a keeper for life.
Ingredients
For the cupcakes:
- 1 1/4 cups vegetable oil
- 1 cup buttermilk
- 2 large eggs
- 1 teaspoon white vinegar
- 2 teaspoons vanilla extract
- Red food colouring
- 2 1/2 cups all-purpose flour
- 1 3/4 cups sugar
- 1 teaspoon baking soda
- 3/4 teaspoon salt
- 1 Tablespoon unsweetened cocoa powder
- 2 (8-oz.) packages cream cheese, at room temperature
- 1 cup powdered sugar
- 3 teaspoons vanilla essence
- 1 1/3 cups cold heavy whipping cream
Directions
Make the cupcakes:
- Preheat the oven to 160 degrees celcius. Line a cupcake pan with liners.
- In a bowl beat together the oil, buttermilk, eggs, white vinegar, vanilla extract and enough red food coloring until the mixture is well combined and reaches your desired color.
- In a separate medium bowl, sift together the flour, sugar, baking soda, salt and cocoa powder.
- Add the dry ingredients to the wet ingredients, 1/2 a cup at a time, mixing between each addition to avoid any lumps in the batter.
- Fill each cupcake liner about 3/4 full with batter and bake for 18 to 20 minutes until a toothpick inserted comes out clean.
- Transfer the cupcakes to a cooling rack to cool completely (place in the fridge to help speed up the process if you need to frost the cupcakes soon).
Make the frosting:
- In a bowl beat the cream cheese until smooth. Sift the powdered sugar into the bowl, beating to combine, then add the vanilla essence.
- Scrape down any cream cheese from the sides of the bowl, and then with the whisk beating at medium-high speed, stream in the cold heavy cream until the frosting is thick enough to pipe.
- Transfer the frosting to a piping bag fitted with your desired pastry tip.
- Pipe the frosting onto the cooled cupcakes and serve immediately.
(recipe adpated from here)
Most accounts of the origin of tiramisu date its invention to the 1960s
in the region of Veneto, Italy, at the restaurant "Le Beccherie" in
Treviso, Italy. Even more so surprisingly the original recipe has no mention
whatsoever of the use of Marsala (a type of wine specific to Sicily) and the
use of egg whites. However with the progression of time many versions of the
tiramisu have emerged and adapted various ingredients alongside it. Here is my
adaptation of the tiramisu with the hint of Hersheys and suitable to all ages
due to the exclusion of Marsala.
If you enjoy drinking coffee and consuming any coffee flavoured delightful sweets than you are bound to love this decadent three tier-ed 'Cappuccino Layer Cake' which I adapted from a recipe I spotted on Pinterest belonging to Thalia from "Butter and Brioche". What is even better about this recipe is that most of the ingredients used in the making of this cake will be readily available in most household pantries guaranteed. The Cappucino Layer Cake is comprised of three moist coffee flavoured cake layers that are sandwiched beneath a fluffly coffee flavoured buttercream frosting. The buttercream can be incredibly sweet so best used sparingly on your cake when layering it. The cake will definitely transport you into blissfulness and leave you craving just another bite. I say this cake is best suited for an afternoon tea treat enjoyed in your gardens or backyard with a tall glass of milk to wash all that sweetness down.
Ingredients
For the Cake Layers:
·
500 g plain
flour
·
6 tsp baking
powder
·
100 g almond
meal
·
440 g caster
sugar
·
1 tsp salt
·
220 g unsalted
butter, diced at room temperature
·
6 tbsp instant
coffee granules, dissolved in 160 ml hot water
·
1 tbsp vanilla
extract
·
160 ml whole
milk
·
6 eggs
For the Buttercream Frosting:
·
220 g unsalted
butter, diced at room temperature
·
4 tbsp instant
coffee granules, dissolved in 4 tablespoons of boiling water
·
720 g icing
sugar
Instructions
For the Cake Layers:
1. Preheat the oven to 180 C (350
F). Line, grease and three 20 cm cake tins.
2. In a large bowl, combine the
flour, baking powder, almond meal, sugar and salt.
3. Using your fingers rub the
diced butter into the dry flour mixture until no large chunks of butter remains.
4. Pour the dissolved coffee into
the flour mixture, along with the vanilla, eggs and milk. Combine until smooth
with an electric beater or wooden spoon.
5. Divide the batter between the
cake tins and bake for 30 to 35 minutes or until the centre springs back when
lightly pressed.
6. Let the cakes cool in their
tins then turn out onto a wire rack and level any domed cakes.
For the Buttercream Frosting:
1. Cream together the room
temperature butter, dissolved coffee and icing sugar until smooth. It should be
the consistency of cream cheese. If it is too thick, add a splash of milk.
For Cake Assembly:
1. Place the first cooled and levelled
cake layer base side up on a stand or large platter. Place one-third of the
buttercream on the layer and smooth, stopping just shy of the edge.
2. Repeat the process with the second
and third cake layers - pressing down lightly as you go.
3. Use the remaining buttercream
to first crumb coat your cake lightly and place back into the fridge for an
hour.
4. Take out your cake again and
frost it completely and use an offsetting spatula or flat butterknife to smooth
out your cake completely.
It
has been an immensely busy past month with the constant end of year struggle
every student goes through of final assessments and exams that all seem to pile
up at once. However I have long farewell-ed second year of law
school goodbye and now look forward to visiting university infrequently as I
chose to complete Summer school in order to pass by these tediously length
holidays till February end. Despite the fact that I would've enjoyed being overseas right now
possibly in my home country, making plans here and there with friends and
keeping myself busy is the way to go these Summer holidays. Also expect tonnes
of creative and exciting new baking ventures coming your way soon. Hope
you've all been well and in good health and hope to be back with more wonderful
posts soon.
Till next time x
The Law Student Diary
"He who lives sees much. He who travels sees more."
(Arab proverb)
Subscribe to:
Posts (Atom)


